Pytorch tutorial (4)
Let's practice multiple output with MNIST
Let’s practice multiple output with MNIST
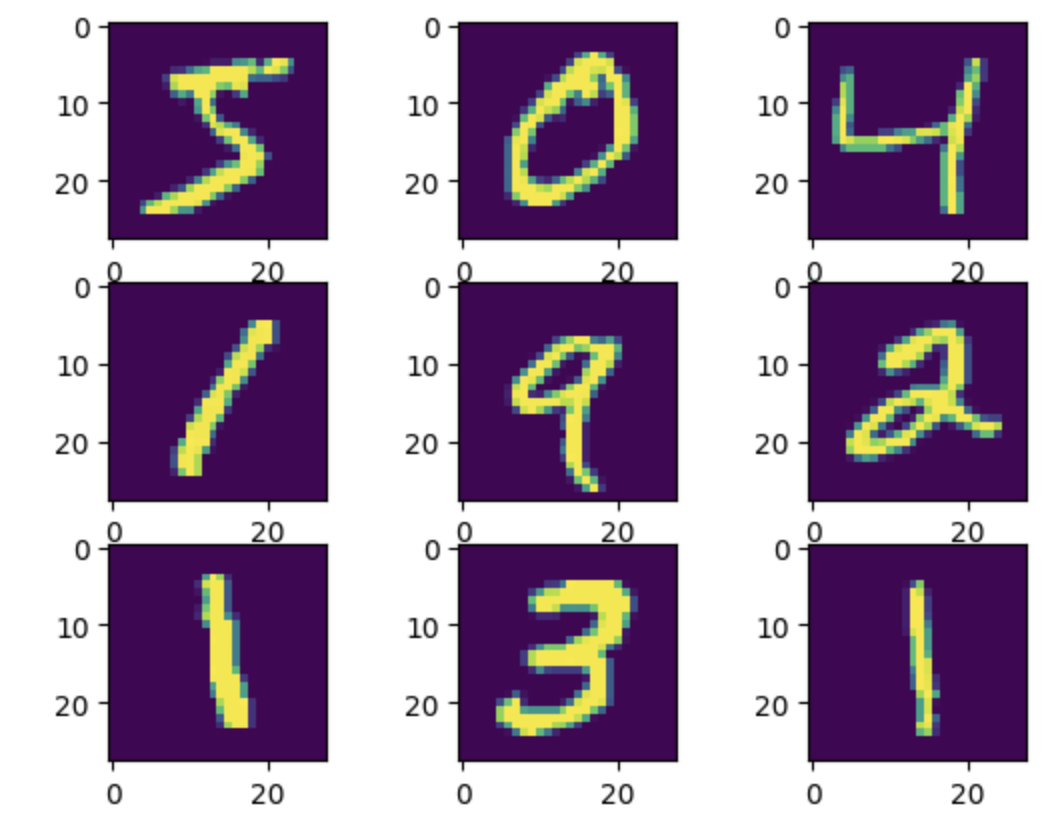
Handwritten digits Data
1
2
3
4
5
6
7
8
9
10
11
12
13
14
15
16
17
18
import matplotlib.pyplot as plt

from torchvision.datasets.mnist import MNIST
from torchvision.transforms import ToTensor

# split train and test
training_data = MNIST(root="./", train=True, download=True, transform=ToTensor())
test_data = MNIST(root="./", train=False, download=True, transform=ToTensor())

print(len(training_data)) # 60000
print(len(test_data)) # 10000

# print sample image
for i in range(9):
    plt.subplot(3, 3, i+1)
    plt.imshow(training_data.data[i])

plt.show()
DataLoader
PyTorch provides two data primitives: torch.utils.data.DataLoader and torch.utils.data.Dataset that allow you to use pre-loaded datasets as well as your own data. Dataset stores the samples and their corresponding labels, and DataLoader wraps an iterable around the Dataset to enable easy access to the samples.
1
2
3
4
5
# set dataloader
from torch.utils.data.dataloader import DataLoader

train_loader = DataLoader(training_data, batch_size=32, shuffle=True)
test_loader = DataLoader(test_data, batch_size=32, shuffle=False)
Model
1
training_data.data.size()
1
2
# output
torch.Size([60000, 28, 28])
60000 amount of train data is 28*28 size image
we are going to make this 2D image to 1D image
so, input size is 784
1
2
3
4
5
6
7
8
9
10
11
12
13
14
15
16
17
18
19
20
21
22
23
24
25
26
27
28
29
30
31
32
33
34
35
36
# model define and train
import torch
import torch.nn as nn

from torch.optim.adam import Adam

# set device
device = "cuda" if torch.cuda.is_available() else "cpu"

model = nn.Sequential(
    nn.Linear(784, 64),
    nn.ReLU(),
    nn.Linear(64, 64),
    nn.ReLU(),
    nn.Linear(64, 10)
)

model.to(device)

lr = 1e-3

optim = Adam(model.parameters(), lr=lr)

for epoch in range(20):
    for data, label in train_loader:
        optim.zero_grad()
        data = torch.reshape(data, (-1,784)).to(device) # 입력 데이터 모양을 모델의 입력에 맞게 변환
        preds = model(data)

        loss = nn.CrossEntropyLoss()(preds, label.to(device)) # 손실 계산
        loss.backward() # 오차 역전파
        optim.step() # 최적화 진행

    print(f"epoch : {epoch + 1}, loss : {loss.item()}")

torch.save(model.state_dict(), "MNIST.pt")
1
2
3
4
5
6
7
8
9
10
11
12
13
14
15
16
17
18
19
20
21
# output
epoch : 1, loss : 0.07876800745725632
epoch : 2, loss : 0.029804352670907974
epoch : 3, loss : 0.18795163929462433
epoch : 4, loss : 0.11430750042200089
epoch : 5, loss : 0.009107802994549274
epoch : 6, loss : 0.2908082604408264
epoch : 7, loss : 0.009684977121651173
epoch : 8, loss : 0.004115236457437277
epoch : 9, loss : 0.011926895938813686
epoch : 10, loss : 0.00644091609865427
epoch : 11, loss : 0.005898851435631514
epoch : 12, loss : 0.030245522037148476
epoch : 13, loss : 0.001180164748802781
epoch : 14, loss : 0.012455185875296593
epoch : 15, loss : 0.0008564359159208834
epoch : 16, loss : 0.05444180592894554
epoch : 17, loss : 0.0010119365761056542
epoch : 18, loss : 0.00011815148900495842
epoch : 19, loss : 9.022503218147904e-05
epoch : 20, loss : 0.008285698480904102
evalutaion
1
2
3
4
5
6
7
8
9
10
11
12
13
14
15
model.load_state_dict(torch.load("MNIST.pt", map_location=device)) # load wegihts

num_corr = 0 # set number of correct answer

with torch.no_grad(): # don't need to calculate gradient
    for data, label in test_loader:
        data = torch.reshape(data, (-1, 784)).to(device)

        output = model(data.to(device))
        preds = output.data.max(1)[1] # predict

        corr = preds.eq(label.to(device).data).sum().item()
        num_corr += corr

    print(f"Accuracy : {num_corr/len(test_data)}") # 정확도
1
2
# output
Accuracy : 0.9739
This post is licensed under CC BY 4.0 by the author.